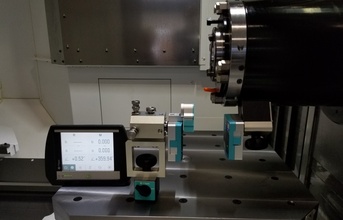
The general trend for machine tools is clear, machines become more advanced. 5-axis machines and multi-task machinery is now becoming a standard at most shopfloors. Increased flexible machine solutions with higher degree of automation is used for shorter series or a mix of products produced on the same machine.
Complex solutions often go hand in hand with increased investments putting a higher focus on return of investment. Keeping machines running together with high availability has become increasingly important to keep this time short. Correct geometrical condition is a vital requirement to increase the availability and by that, increasing the Life Cycle Profit (LCP) of your machine tool.
Why?
What do high availability in the machine means? Short answer is to produce correct parts with no or minimal number of parts outside tolerance, decrease lead time and time for fine tuning programs and to minimize the software corrections factors every time changing parts produced in the machine.
Good geometric condition of the machine results in improved machining conditions on parts being produced. It also has a positive effect on tool life time (less wear and breakages on tools), which contributes to a better economy. If the geometry in the machine is correct, it results in decreased wear of internal components (linear bearings, ball screws, spindle bearings, etc.) which further leads in lowering the cost for spare parts and resulting in fewer unplanned productions stops for maintenance.
How is the problem solved today?
Traditional solutions for checking geometry include a lot of equipment. Test mandrels, granite squares, precision straight edges, special tooling, dials, levels and special fixtures. In many cases, big and heavy equipment to use, transport and also difficult to handle inside the machine. In addition, these solutions often require skilled and experienced technicians to obtain accurate and relaiable results. With traditional equipment, the results are often manually recorded and creating proper measuring protocols is a time consuming task. This situation often results that machine owners are dependent of these experts and their availability for checking their machines.
