Growing quality requirements as well as high pressure on reducing costs and time affect the whole sheet metal industry. In order to fulfil these demands, Design Engineers, tool makers relies on 3D metrology and 3D testing within the entire manufacturing process chain.
The usage and complexity of high tensile steel parts in the automotive industry is drastically increasing. The optical measuring systems are used in stamping, bending, drawing, pressing, and forming process chains to guarantee consistent quality assurance.
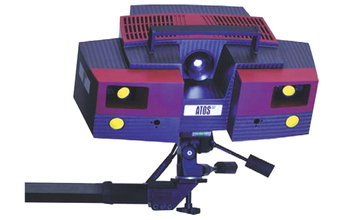
GOM systems provide precise material properties for design and simulation by determining forming limit curves and flow curves. During try-out, sheet metal parts are inspected with an ATOS system for geometric and dimensional accuracy and with an ARGUS system for material thinning: part geometry, springback, trimming, hole pattern, material thickness and forming limit analysis.
Results delivered by optical measuring systems are not based on only points but on the entire surface. The full-field visualisation of results increases process reliability and the optical measuring system serves as a control element in the process chain. The actual state of the test parts is completely digitized, so that all process parameters can be specifically checked and adjusted.
The main advantages of these relatively new technologies are:
• Coverage and visualisation of the complete parts in 3D as well as comparison with CAD or numerical simulation data.
• Fast measuring process in comparison with traditional single point based measuring systems.
• High resolution and accuracy, which exceed the demands in related applications.
• System mobility, which allows the measurement of parts at different places.
For more info, contact
APM Technologies
www.apmtech.in
END
